Application Workspace Server is distributed as a Microsoft Installer (MSI) which you can find on our Downloads page.
This article provides the description of a few steps required to install it.
Application Workspace Server 3.x is out of support.
Prerequisites
Setting up an empty database prior to installing the Application Workspace Server for the first time is mandatory. If you choose to use an Azure SQL database and you want to configure Microsoft Entra ID (Azure AD) authentication for it, you need to install locally the SQL Server Native Client, otherwise this authentication method will not work. See Installing SQL Server Native Client and Configure and manage Microsoft Entra authentication with Azure SQL for more information.
Note that Application Workspace Server is a web server and any existing services running on port 80 or 443 will cause conflicts.
To guarantee that the web version and Application Workspace Launcher of the Application Workspace work properly, a certificate supplied by Recast must be installed on the local PC. See HTTPS (Webserver certificates) for more information.
How to install the first Application Workspace Server
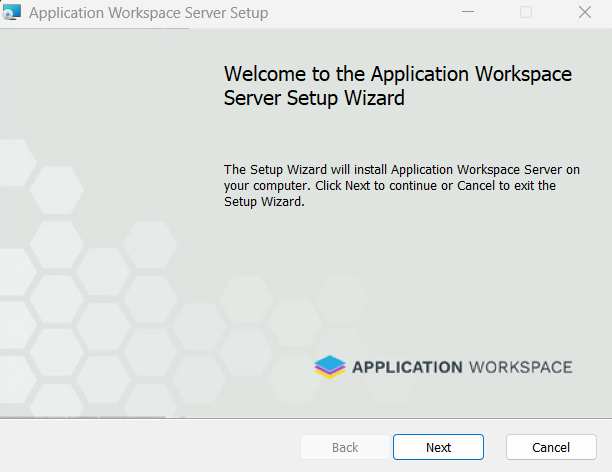
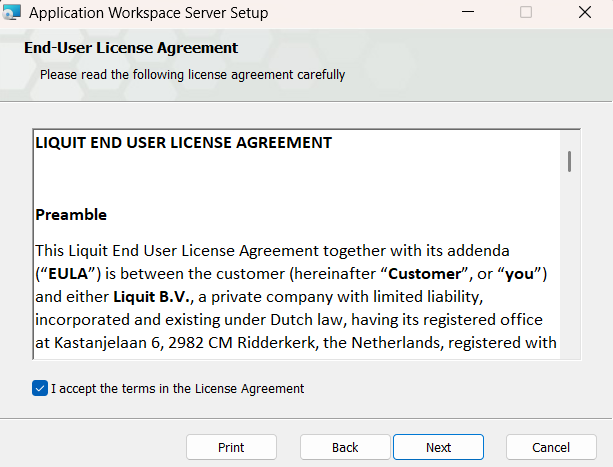
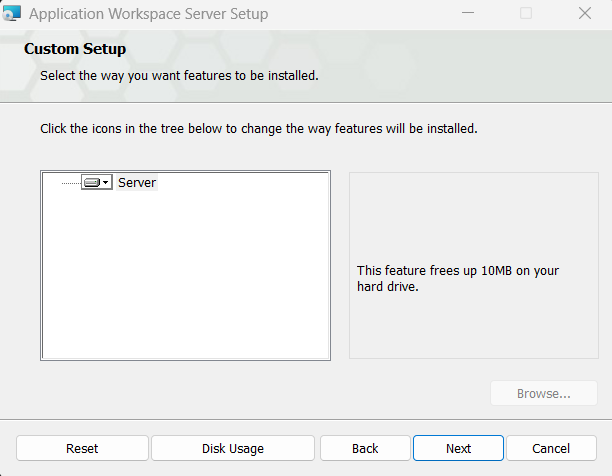
- When you run the wizard, click Next in the first three windows.
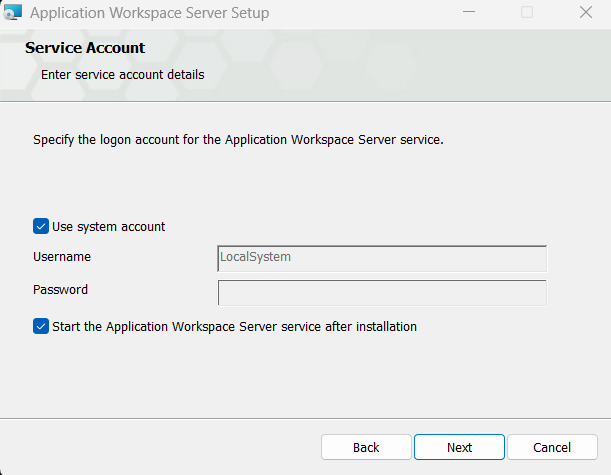
- In the Service Account window, provide the credentials for the Application Workspace Server Service, which will be used for database connectivity and/or for securing access to the Content Store.
You can choose to use Windows Authentication or insert your credentials.
If you provide custom logon account credentials, make sure that this account has the “Log on as a service” rights, as described in the Microsoft documentation and it also has local admin rights on the server.
-
Click Next.
-
In the Setup Database window enter the database connectivity information which will be used by the Application Workspace Server Service.
The following authentication methods are supported:- Windows Authentication The Windows/Active Directory service account that has been configured in the previous step will be used to authenticate with the SQL database. Make sure that both the service account from the previous screen and the user account that runs the setup (for database schema creation) have permission to access the SQL Database.
- SQL Server Authentication Specify account credentials of an SQL user with SQL database permissions.
- Azure Active Directory - Password Specify account credentials of an Azure AD user with SQL database permissions.
- Azure Active Directory - Integrated The Azure AD service account that has been configured in the previous step will be used to authenticate with the SQL database.
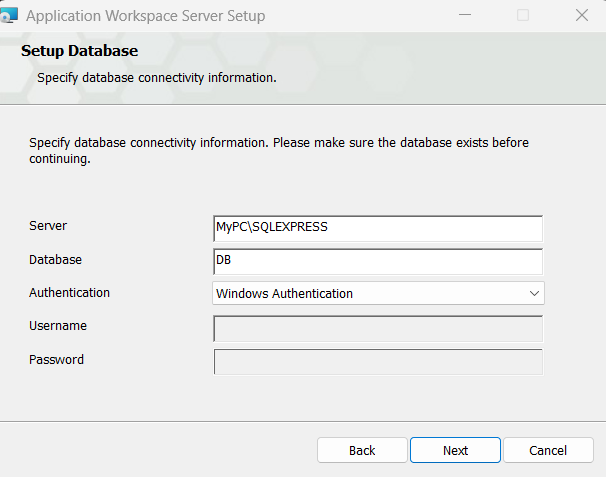
- Click Next.
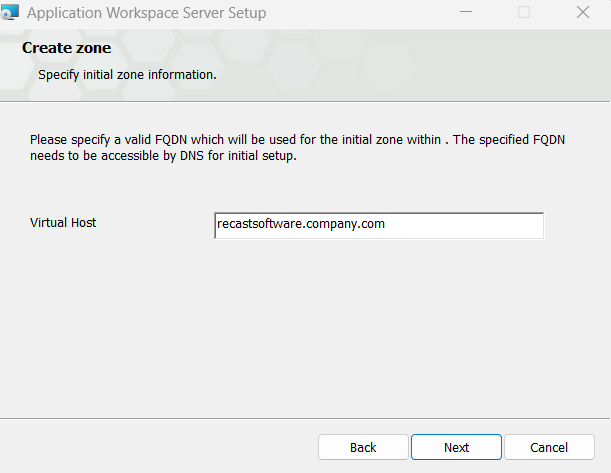
- In the Create zone window, that opens if you provide an empty SQL database, specify the primary zone for your Application Workspace System. In other words, the FQDN that will be used to access the Application Workspace System.
-
Click Next.
-
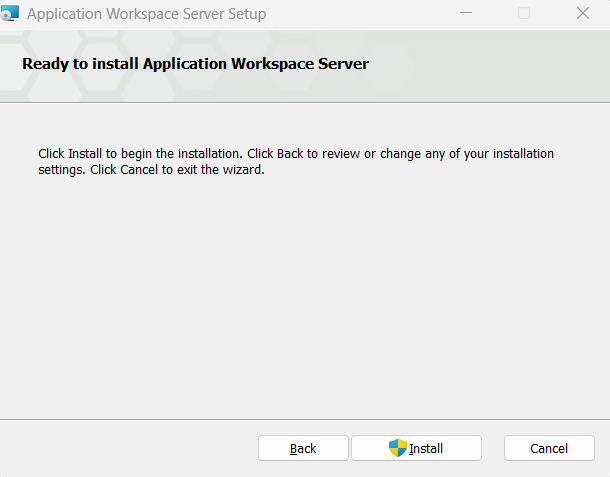
In the Ready to install Application Workspace Server window click Install.
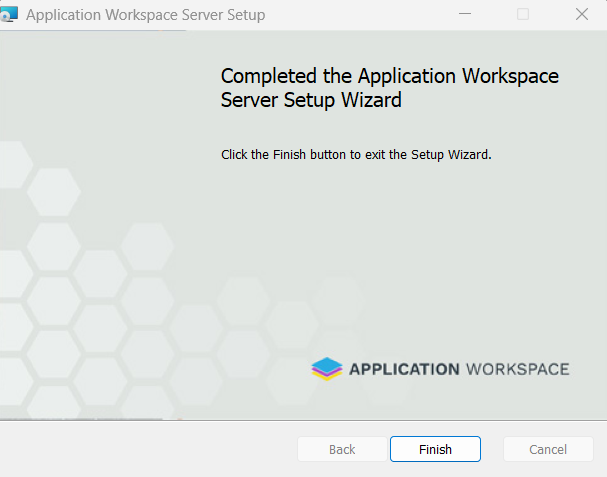
- After the installation is successfully completed, click Finish.
Further reading
First login page contains information about how to access Application Workspace using a web browser on the FQDN you provided for the first time.
Server Configuration details the main configuration options for the server.json file.
Content Store details how to relocate the content store (local data) to a different location.
HTTPS (Webserver certificates) details how to enable SSL.
Load Balancing details best practices on how to configure the load balancing solution for multiple Application Workspace Servers within an Application Workspace System.