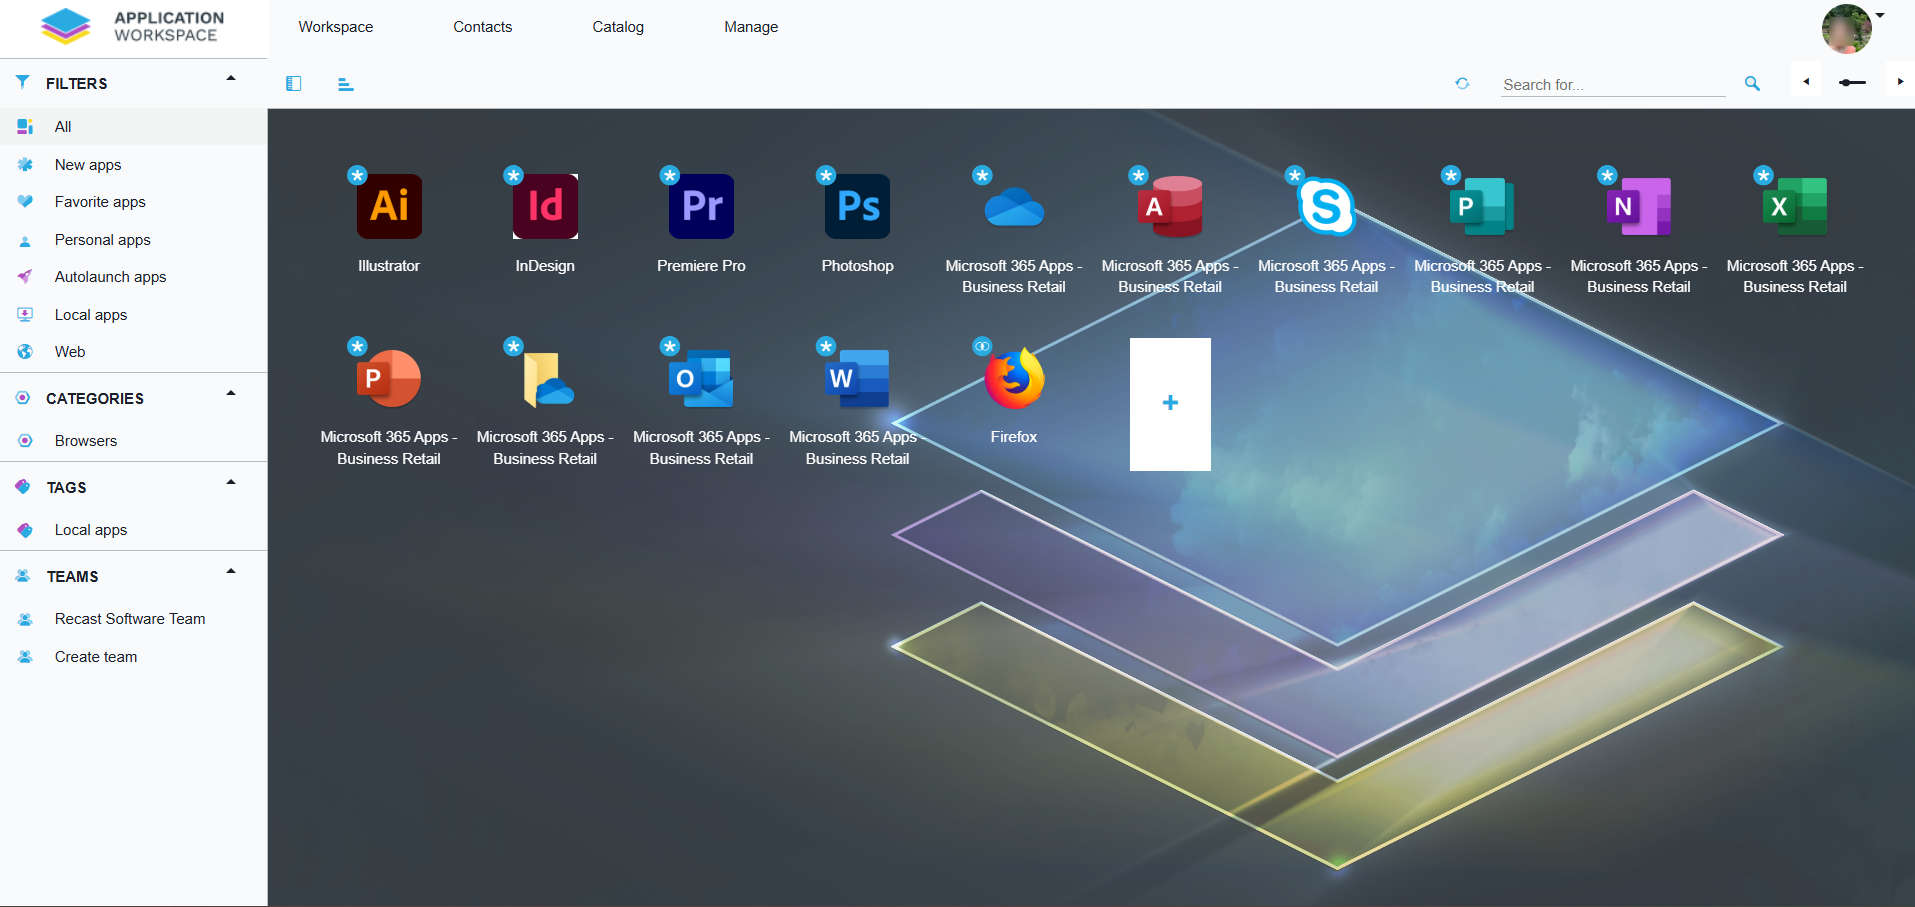
This is the default Application Workspace starting point. Here you will find all applications, files and other IT resources made available to you by the system administrator. In Workspace you can:
- Start managed applications configured by your system administrator.
- Add your own personal apps.
- Filter through apps based on easy to access filters, tags and teams.
- Share personal apps, websites and other resources with your coworkers.
- Define which applications should be started automatically.
- View reviews of applications and websites written by your coworkers.
- Report potential issues with an application directly to your IT Department.
Side Menu overview
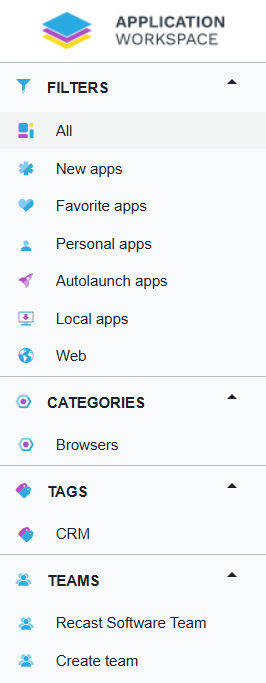
Filters
These are predefined filters designed to help you find applications easily. When selecting a filter in the Side Menu, only applications assigned to that filter will be shown.
| Name | Applications filtered |
|---|---|
| All | All applications |
| New apps | Only applications you have not yet started |
| Favorite apps | Only applications you have favorited |
| Personal apps | Only personal applications |
| Autolaunch apps | Only applications you have enabled autolaunch for |
| Local apps | Only local applications |
| Web apps | Only applications pointing to a web address |
Categories
When selecting a category in the Side Menu, only applications assigned to that category will be shown. Categories are used for a more granular organization of the applications you have access to.
Tags
When selecting a tag in the Side Menu, only applications assigned to that tag will be shown.
Only users with admin privileges can create tags and categories and assign them to applications and users.
Teams
Teams are used to easily share personal applications with coworkers. Here you will see teams created by the administrator, of which you are a member, but you can also create your own teams by clicking on Create team.
Further reading
How to get an app in the Workspace tab
How to request an app and add it to the Workspace tab
How to add a personal application in Application Workspace