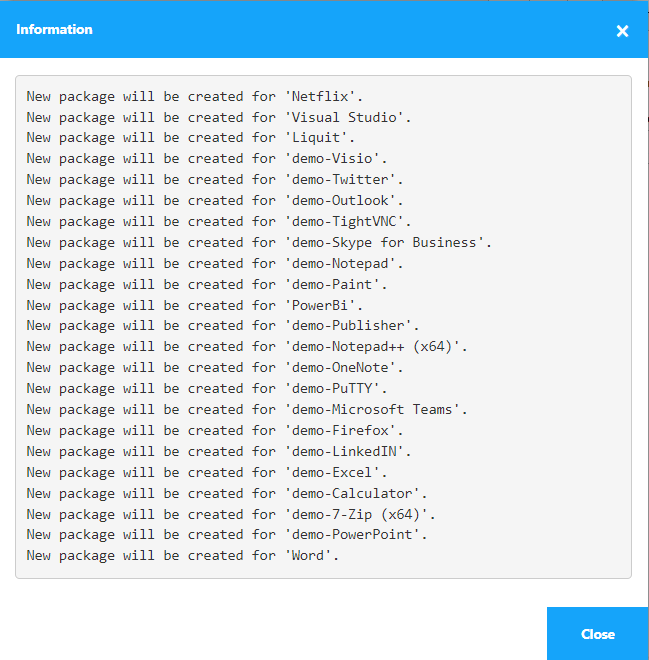
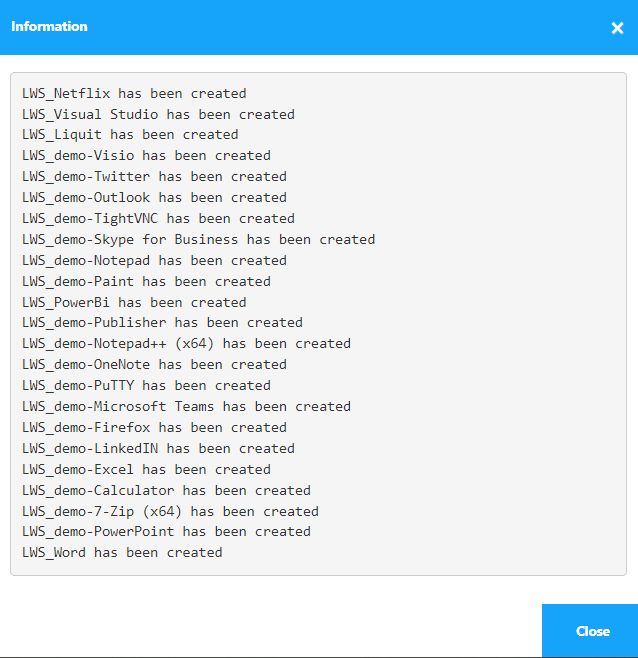
This example shows how to configure a Liquit Workspace connector using the LOCAL identity source.
- In the source Liquit Workspace zone, create a new user in the LOCAL identity source called Test.
- Assign a Connector type access policy to the newly created Test user.
- Entitle the Test user to all the packages that you want to export later. You can do that in Manage > Users > Test user > Packages screen or in Manage > Workspace > Packages > desired package > Entitlements screen.
- In the destination Liquit Workspace zone, create a Liquit Workspace type connector with the following parameters:
- In the Overview tab:
Direction Pull
Synchronization method Synchronize
Stage Development
Package name prefix LWS - In the Settings tab:
URL the URL of the source Liquit Workspace zone,
Username insert "LOCAL\Test" (the username of the user configured at steps 1-2)
Password insert the password of the Test user (the user configured at steps 1-2) - In the Summary tab, leave the Modify connector after creation selected
- In the Overview tab:
- In the connector detailed view that opens, in the Overview screen, click
 Synchronize.
 - In the Synchronize dialog box that opens, select Check for updates. A log will appear, containing all the packages that will be created in the target Liquit Workspace zone

- Close the log, click
 Synchronize again and this time select Download and apply updates. After it finishes a log will appear listing all the newly created packages.

- Close the log and go to the Managed packages screen to access all the packages you imported.