Configuration
- 21 Oct 2024
- 2 Minutes to read
- Print
- DarkLight
- PDF
Configuration
- Updated on 21 Oct 2024
- 2 Minutes to read
- Print
- DarkLight
- PDF
Article summary
Did you find this summary helpful?
Thank you for your feedback
Register the Liquit Workspace application in Microsoft Entra ID (Azure AD)
This article provides information about how to register Liquit Workspace in the Azure Portal, where you can find the Microsoft Teams app manifest files, how to download them and all the settings you need to configure to integrate Liquit Workspace in Microsoft Teams.
Pre-requisites
Have an active Microsoft Entra ID (Azure AD) app registration that is used to authenticate to Liquit Workspace.
Write down the URL where Liquit Workspace is accessible as you will need it during the configuration process. This value is indicated as <LWS-URL> in this document.
Configure API permissions on the Liquit Workspace Microsoft Entra ID (Azure AD) app registration.
To allow the Teams application to authenticate users, the exchange token should be configured for Liquit Workspace. Read How to set up your exchange token for more information. Copy the scope from your app registration. This value is indicated as <LWS-Scope> in this document.
Register a new application in Microsoft Entra ID (Azure AD)
To allow the Teams app to authenticate to Liquit Workspace it is necessary to set up a new app registration in Microsoft Entra ID (Azure AD).
- Log in to Azure Portal.
- In the Azure Portal menu, navigate to Microsoft Entra ID.
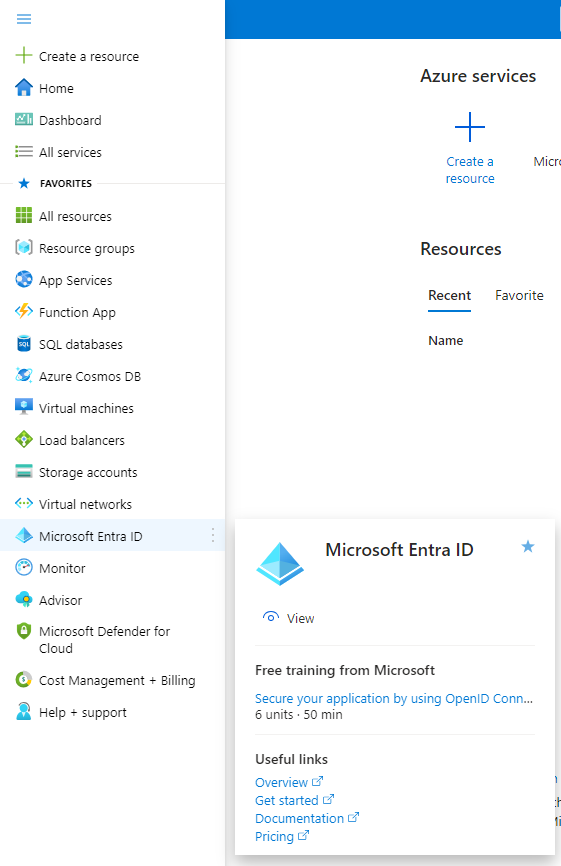
- In the left pane, navigate to Manage > App registrations.

Click on + New registration on the top toolbar.
In the Register an application window that opens, configure the following:
- Give a name to your app. In our example, we use Liquit Teams App.
- In the Supported account types section, select Accounts in this organizational directory only (tenant only - Single tenant). For more information about the supported account types, see Microsoft documentation.

Click Register.
After registering the new application, make a note of the Application (client) ID from the overview menu option. It will be necessary later, for the Microsoft Entra app manifest generator. We will use
< LWS-MST-App-ID>to reference this value.

Download the Microsoft Teams app manifest files
- Navigate to the Liquit download page.
- Fill in the fields:
| Field | value |
|---|---|
| Workspace URL: | <LWS-URL> |
| App registration identifier: : | < LWS-MST-App-ID> |
| Workspace URL: | <LWS-Scope> |
- When you finish, click Generate.
- It will generate a zip archive containing 2 .JSON files. After the download is finished, extract the zip file into a directory. You will need these Microsoft Teams app manifest files for the next step.

Add Liquit Workspace app manifest to Microsoft Entra ID
- In Azure Portal open the Liquit Teams App, you previously registered.
- Navigate to Manage > Manifest, and upload the
appreg_1.jsonand forappreg_2.jsonfiles.

Publish the application to Microsoft Teams
- Open the Microsoft Teams administrator center and go to Teams apps > Manage apps
- Click on the Actions dropdown menu > Upload new app
- Select the package.zip in the extracted bundle directory. See Download the Microsoft Teams app manifest files section, step 4.

It can take some time before the app is shown in Microsoft Teams.
Setting up CORS and CSP in Liquit Workspace
For the Microsoft Teams app to communicate with Liquit Workspace, CORS need to be configured.
- In Liquit Workspace navigate to Manage > Portal > Security Settings > Content Security Policy
- Add the following link to the list of allowed websites:
https://workspace-apps.recastsoftware.com

Was this article helpful?