Register an application in Azure Portal
- Log in to Azure Portal.
- In the Azure Portal menu, navigate to Microsoft Entra ID.
- In the left pane, navigate to Manage > App registrations.
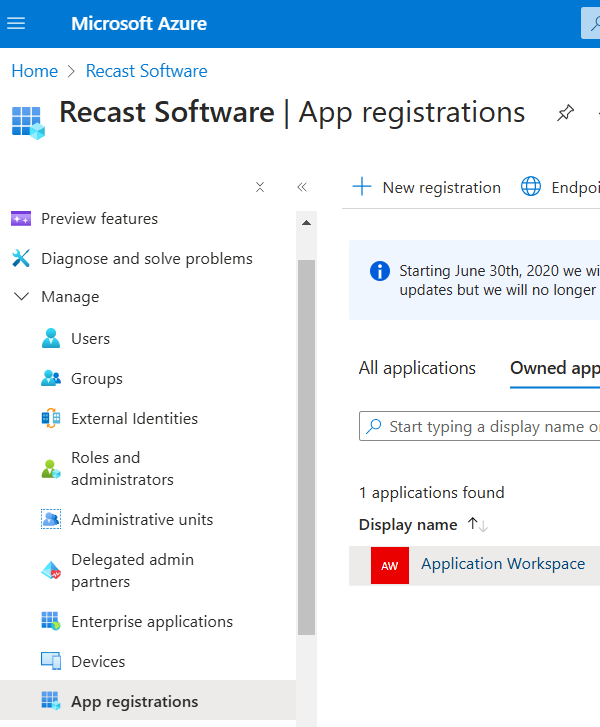
- Click on + New registration on the top toolbar.
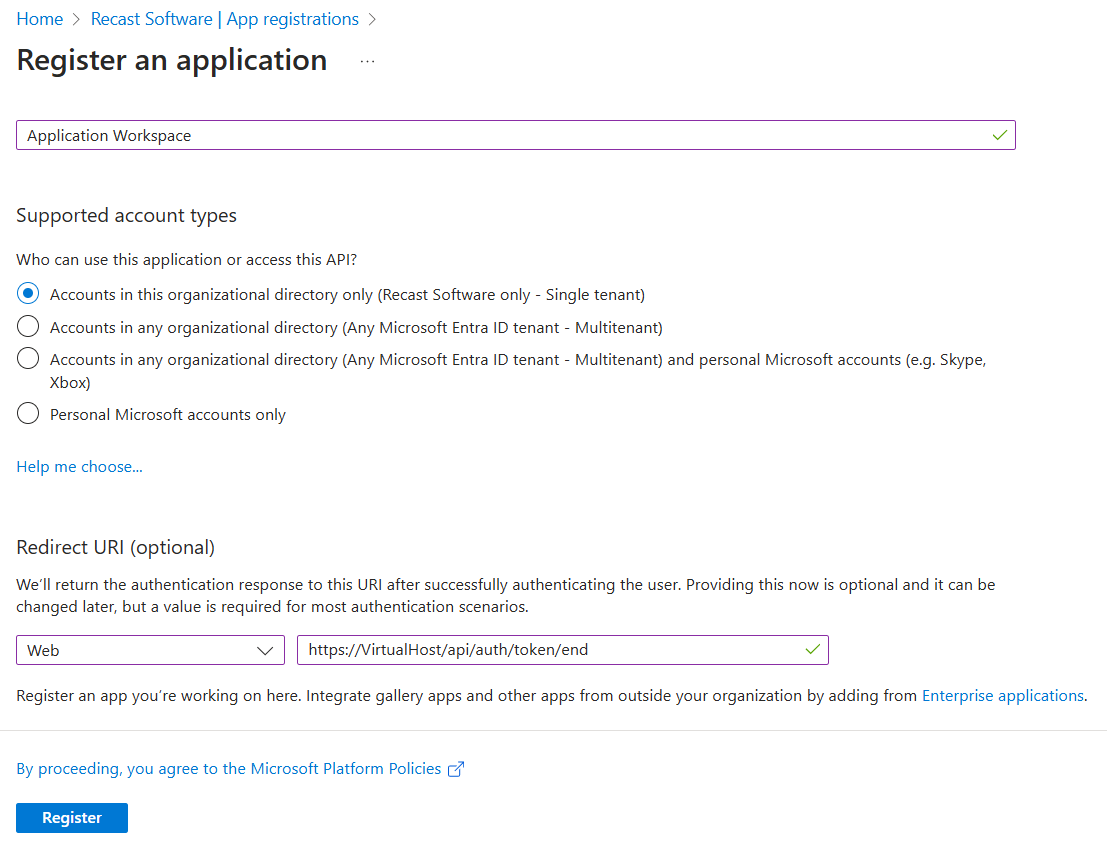
- In the Register an application window that opens, configure the following:
- In the Supported account types section select Accounts in this organizational directory only (tenant only - Single tenant). For more information about the supported account types, see Microsoft documentation.
- In the Redirect URI (optional) section select Web and in the value field insert the FQDN of the Application Workspace Zone you want to add, with the
/api/auth/token/endsuffix.
Example:
https://< Virtual Host >/api/auth/token/end
-
Click on Register on the bottom left, to complete the initial app registration.
-
You need to generate a client secret that facilitates communication between Application Workspace and Microsoft Entra ID (Azure AD). In the newly created app registration, in the left pane, navigate to Manage > Certificates & secrets > Client secrets > New client secret.
-
Add a description and an expiration date for your client secret and then click Add. Note down your client secret after you create it because there is no way of retrieving the value after you leave this screen.
-
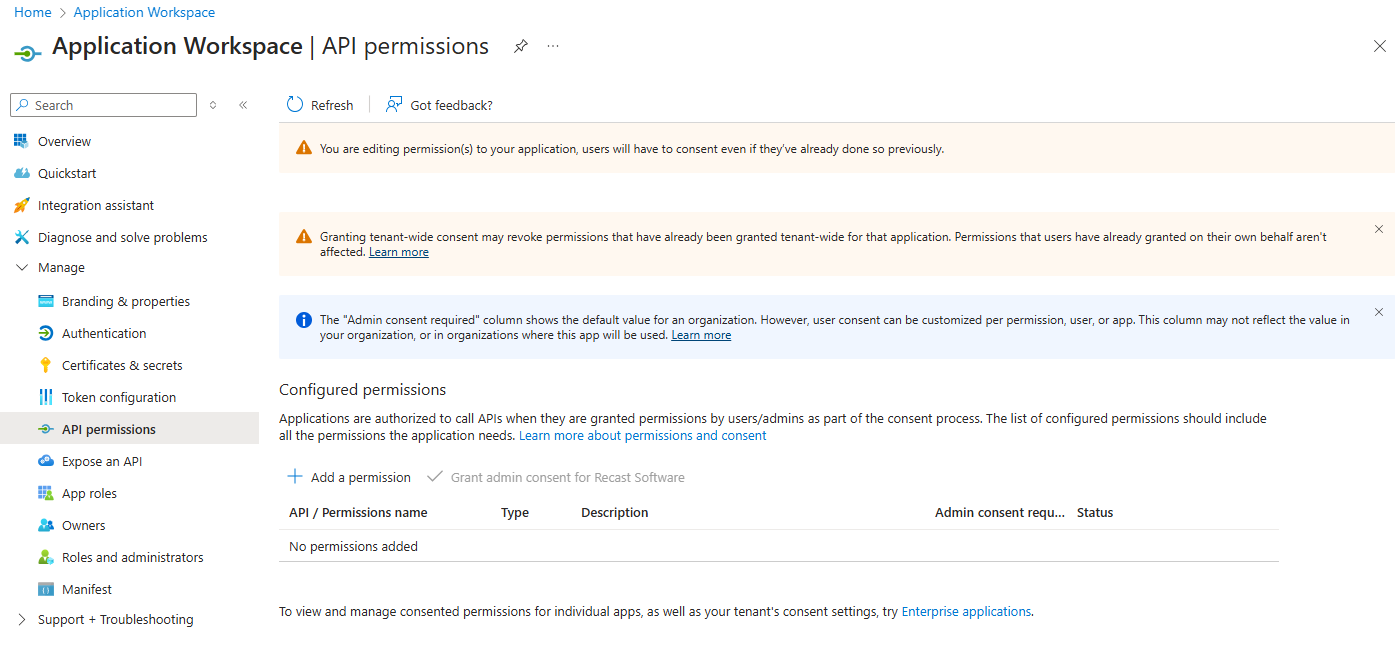
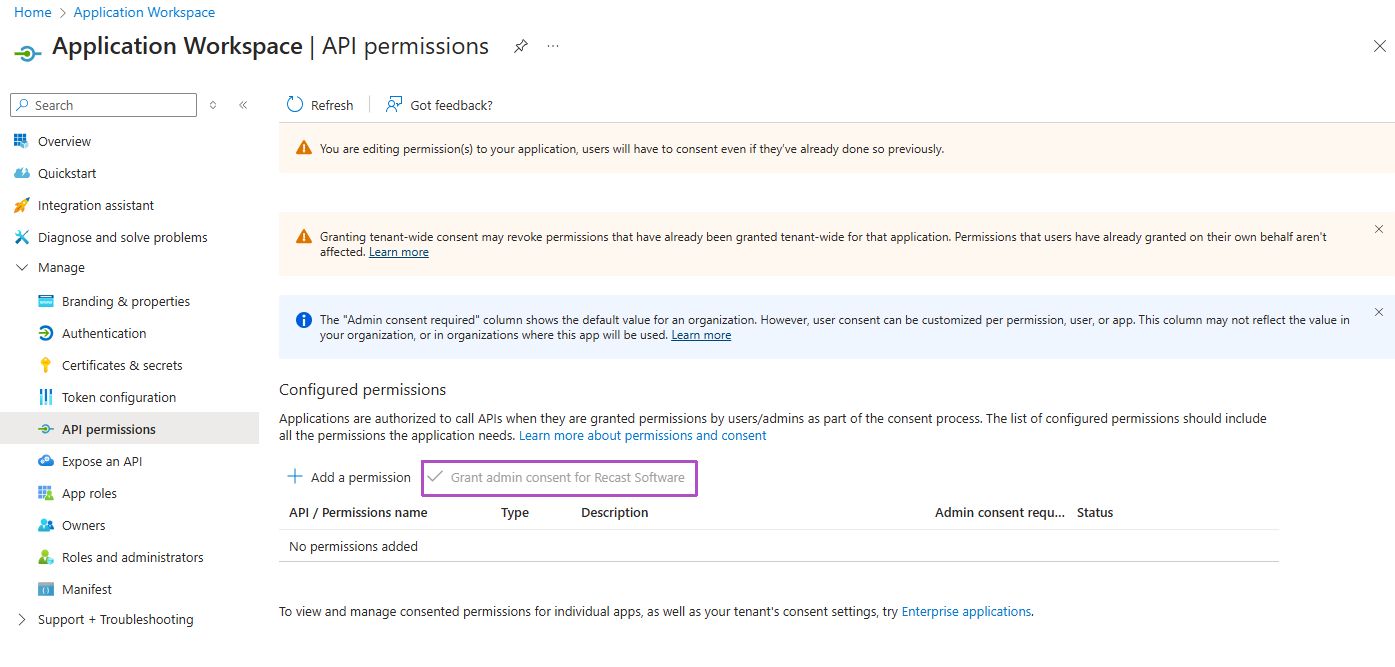
You need to add permission to your app registration. With the new app open, in the left pane, navigate to Manage > API permissions and add the Mail.Send permission.
For more information about permissions, see Microsoft documentation.
- After you add the permission, click on the Grant admin consent for {your tenant} above the permission list. It can take up to an hour before these settings take effect in Microsoft Entra ID (Azure AD).
Application Workspace configuration
- In Application Workspace, navigate to Manage > System > Mail Settings.
- Click
 Create. The Create mail server dialog box opens.
 - In the Type screen, select Microsoft Graph.
- In the Overview screen enter the desired name, description and priority. Note that when trying to send an email Application Workspace will first use the mail server that has the lowest number in the priority field. If not available, it will continue with the next server in the list that has a higher priority. After you finish inserting all necessary information, click Next.
- In the Settings screen, configure the following:
- Enter the client ID and tenant ID of the application you previously registered in Register an application in Azure Portal . You can find them in the Overview screen within Microsoft Entra ID (Azure AD)
- The client secret you generated earlier in Register an application in Azure Portal at step 7.
- In the From field insert the mail address used to send the emails.
- In the Summary screen, click Finish.