Autodesk Desktop Connector can be processed in 2 ways described in this article.
Silent install
From version 14.9 and forward, you can use the following silent install parameters:
-i install --silent
For more information about these parameters, check out this article.
Bootstrapper
The method below still works for all versions but takes more steps.
Autodesk ships a DesktopConnector-x64.exe setup which is a ‘bootstrapper‘ which installs these Visual C++ prerequisites and Microsoft .NET Framework:
- Microsoft Visual C++ 2019 x64 Redistributable (64-bit systems only)
- Microsoft Visual C++ 2019 x86 Redistributable
- Microsoft .NET Framework 4.8
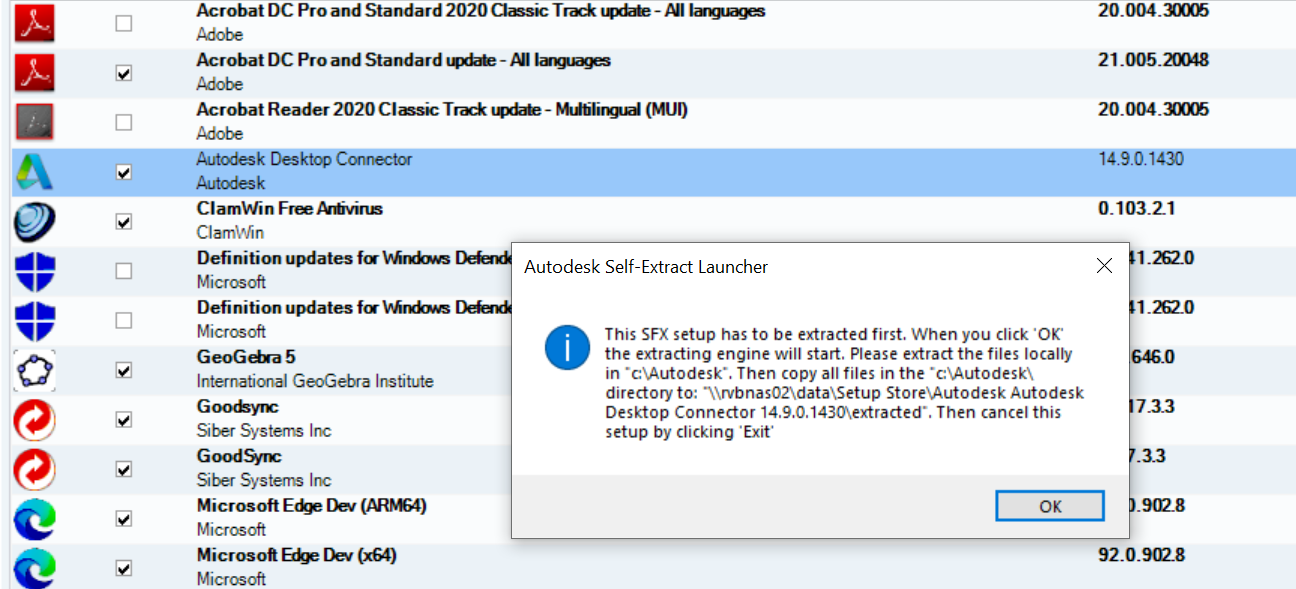
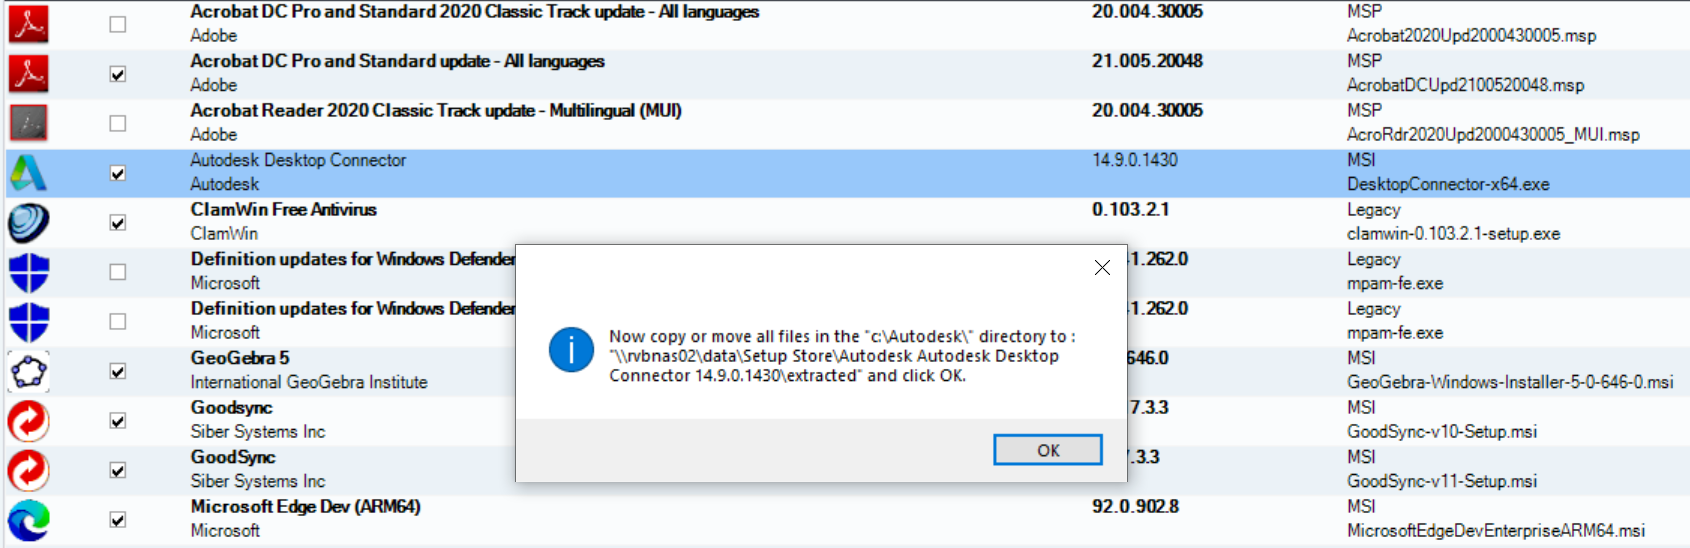
Right-click and choose ‘create application’ on the ‘Autodesk Desktop Connector’ setup in the ‘Setup Store’.
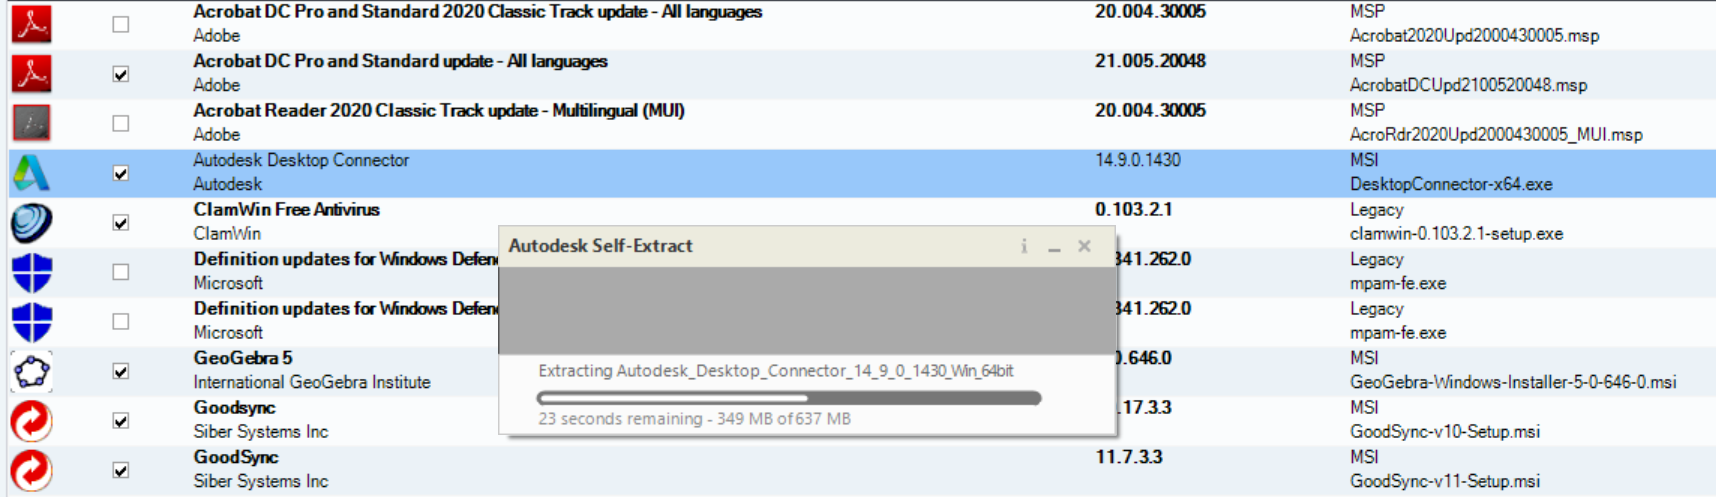
After extracting the setup files from the ‘Autodesk Download Manager’s setup, you will find a setup.exe in the c:\Autodesk\Autodesk_Desktop_Connector_14_9_0_1430_Win_64bit\ directory. '14_9_0_1430' depends on the version of the Autodesk Download Manager being downloaded:
Then the main MSI ..\x64\CDX\CDX.msi is selected.
To successfully install Auto Desktop Connector, you need to process and deploy ..\x64\AdSSO\AdSSO.msi first.