After extracting the setup files from the ‘Autodesk Download Manager’ (which is done semi-automatically when you right-click and choose ‘create application’ on the ‘Autodesk DWG TrueView’ setup in the ‘Setup Store’, you will find a setup.exe in the root directory.
This is a ‘bootstrapper‘ which installs these Visual C++ prerequisites:
- Microsoft Visual C++ 2008 Redistributable – x64 (64 bit systems only)
- Microsoft Visual C++ 2010 x64 Redistributable (64 bit systems only)
- Microsoft Visual C++ 2010 x86 Redistributable
- Microsoft Visual C++ 2012 Redistributable (x64) (64 bit systems only)
- Microsoft Visual C++ 2012 Redistributable (x86)
- Microsoft Visual C++ 2015 Redistributable (x64) (64 bit systems only)
- Microsoft Visual C++ 2015 Redistributable (x86)
and then runs ..\x64\dwgviewr\dwgviewr.msi (64 bit systems) or ..\x86\dwgviewr\dwgviewr.msi (32 bit systems).
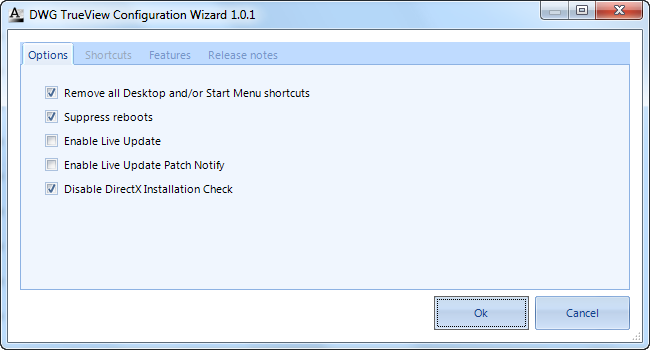
Therefore this MSI is selected automatically when you download and process ‘Autodesk DWG TrueView 2017’ from within the ‘Setup Store’. Doing so, you can use the ‘Autodesk DWG TrueView Configuration Wizard’ to create a transform file:
Alternative way to install:
If you don’t want to install all the Visual C++ setups separately, but do want to use the MST created by the Wizard, you can also choose to use the setup.exe.
After extracting the files and copying them to the ‘extracted’ folder modify the setup.ini to match this:
AOEM
EXE_PARAM=TRANSFORMS=%platform%\dwgviewr\dwgviewr.mst
And run the setup.exe like this:
setup.exe /W /l /q /t setup.ini