This feature is supported starting with the following versions of Application Workspace:
| Branch | Minimum version |
|---|---|
| 3.5 | 3.5.2034 or higher |
| 3.6 | 3.6.2150 or higher |
All versions higher than 3.6 include support for this feature.
If you use portal integration and the portal does not support certain features of Application Workspace, we recommend you contact the support department of the portal.
Microsoft Entra ID (Azure AD) configuration
To take full advantage of the integration between the portal of your choice and Application Workspace, you need to permit the portal to impersonate a user for Application Workspace. This will ensure the Application Workspace Widget will be available within the portal.
Prerequisites
Application Workspace needs to use a Microsoft Entra ID (Azure AD) identity source, that must have the Token Exchange authentication method enabled.
If user_impersonation permission is not available
If the user impersonation permission is unavailable, it is likely caused by an app registration created while using the preview version of the Azure Portal. To fix this, follow the steps below.
- Log in to Azure Portal.
- Navigate to Microsoft Entra ID in the home page or In the Azure Portal menu.
- In the left pane, navigate to Manage > App registrations.
- Select the app registration of the portal you want to give access to Application Workspace.
- In the left pane, navigate to Manage > Expose an API. Make a note of the Application ID URI as you will later need it in Application Workspace
- Click Add a scope.
- In the Add a scope pane that opens, fill in the following information:
Scope name user_impersonation
Who can consent Admins and users
Admin consent display name Access Application Workspace
Admin consent description Allow the application to accesson behalf of the signed-in user.
User consent display name Access Application Workspace
User consent description Allow the application to access Application Workspace on your behalf.
State Enabled - Click Add scope.
Granting user impersonation permission
To allow Azure AD to issue an exchange token, which is needed for user impersonation you need to take or verify the following steps:
- Log in to Azure Portal.
- In the Azure Portal menu, navigate to Microsoft Entra ID.
- In the left pane, navigate to Manage > App registrations.
- Select the app registration of the portal you want to give access to Application Workspace.
- In the left pane, navigate to Manage > API permissions
- Click Add Permission and then go to the APIs my organization uses tab.
- Choose the app registration of your Application Workspace.
- Go to the Delegated permissions tab and select user_impersonation.
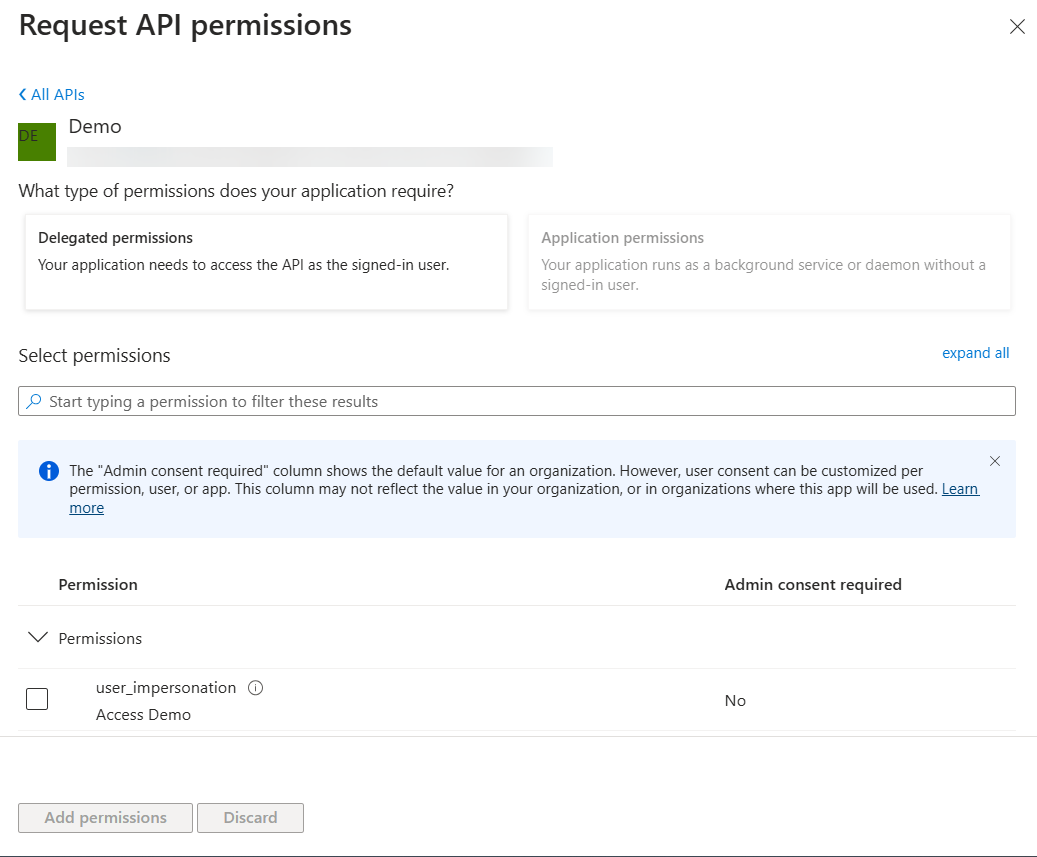
- Click on the Grant admin consent for {your tenant}. It can take up to an hour before these settings take effect in Microsoft Entra ID (Azure AD).
For more information about granting API permissions in Azure Portal, see Microsoft documentation.
Application Workspace identity source token exchange configuration
- In Application Workspace navigate to Manage > Authentication > Identity Sources.
- Open the Microsoft Entra ID (Azure AD) identity source you configured for this integration.
- Navigate to Authentication > Token Exchange and add the Application ID URI you noted down at If user_impersonation permission is not available, step 5.
Security settings
Content Security Policy (CSP) and/or Cross-Origin Resource Sharing are enabled by default. In order to let Application Workspace communicate with Microsoft Teams you need to add the URL https://workspace-apps.recastsoftware.com to both configuration options, in Manage > Portal > Security Settings.